
You can prepare the plaster from the dry mixture yourself. For this, the volume of water indicated in the instructions is poured into the container. Add the right amount of dry mix and mix with a mixer nozzle on a drill. The resulting mass should resemble sour cream. After exposure in 10-15 minutes, mix the composition again. Then color is added in order to obtain the desired shade, and mixed again.
The Right Mixture
The amount of mixture depends on the artistic task. You can apply plaster of the same color in layers and get an interesting one-color texture.
However, to enhance decorativeness, layers of different colors are often applied. Accordingly, the mixtures are also prepared in different volumes. Next will be considered the technology of applying the material Polished plaster. Now click here for understanding the different parts of polished plastering. The following information is dedicated to the production of Polished plaster:
Application Technique
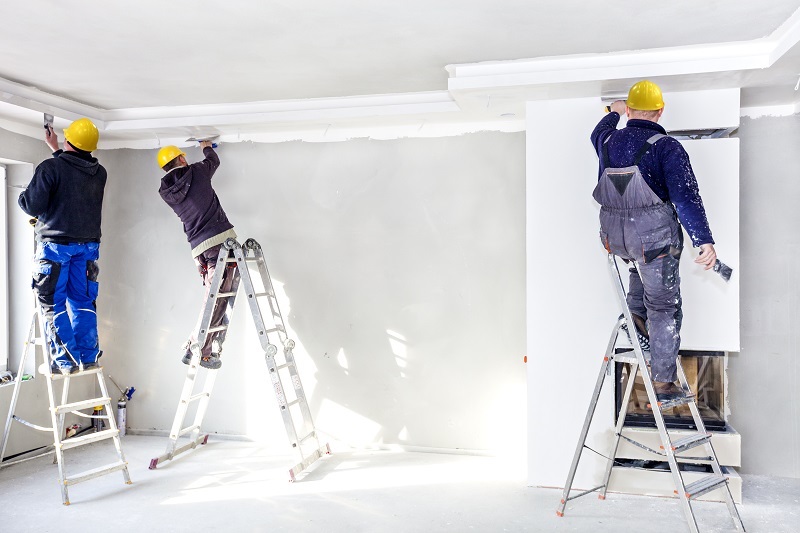
In the absence of experience in working with plaster, the matter must be entrusted to specialists. “Polished” is very demanding in the application, and this skill is not given immediately.
- For starters, walls, ceilings or other surfaces result in a perfectly even state.
- Then the surface is treated twice with a primer is you can acrylic. Work can only be continued after the primer layer has completely dried.
- The mixture is being prepared is mixed to a homogeneous mass.
For applying the material, a trowel is used is a trowel made of elastic steel with rounded edges. It does not create grooves with sharp corners, like an ordinary spatula. A small amount of the solution is applied to the middle of the trowel, and then applied to the wall. The trowel is held at an angle of 30–35 degrees. The mixture is carefully leveled.
The second “smear” is usually applied perpendicular to the first or at an angle to form a “stone pattern”. The first layer is thicker than the others and is 2 mm.
Every 15 minutes of work, the trowel should be cleaned
The finished layer dries in 30–50 minutes. After that, ironing is carried out: with a clean trowel, the surface is carefully leveled and rubbed in order to give it a shine and reveal a pattern.
Each next layer can be applied no earlier than after 10-12 hours, so that the previous one has completely dried out. The number of layers depends on the design is from 5 to 10, or even 15. Moreover, the color and shade of the layers of Polished plaster can be different. Thickness is no more than 0.1 mm, the layer is really transparent and through it the previous one should be visible clearly. It moves in different directions all the time: this is how the texture of the “stone” is formed.
Conclusion
After applying the latter, ironing is again carried out after 20 minutes not earlier than in a day the plaster is covered with decorative wax. It is also applied with a trowel as thin as possible. 30-50 minutes after waxing, polish the area with a soft cloth or a terry disc is a nozzle on the grinder, but with a speed of not more than 3000 per minute. As a rule, polishing is carried out in areas, since rubbing the wax is a very lengthy matter.